

Long Range Training Inside 100 Yards
"Training with a plan always pays off more, especially when dealing with limitations. That way, when it’s time to reach out and touch steel at distance, you are ready to go."
Not every shooter has the capability or availability of training at locations that give them access to long range targets as often as they like. It is understandable. Life is busy. Work, families, car repairs, birthdays, holidays, and then all over again. What can shooters do at their local ranges when they often don’t exceed a distance of 100 yards? There are, in fact, many things.
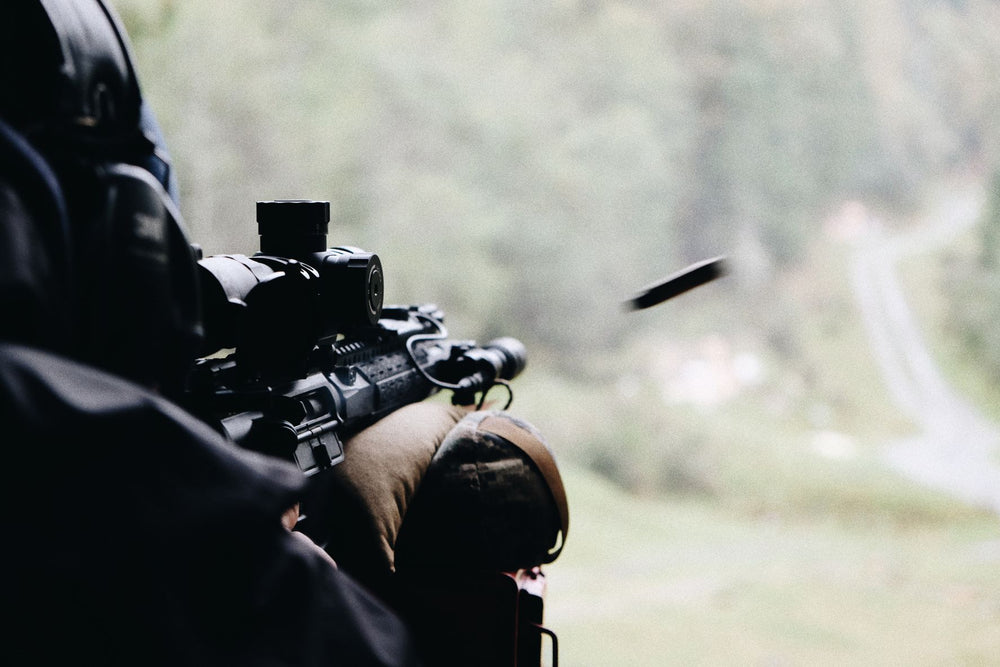
A majority of shooting long range takes place at the shooter and their rifle before the round ever leaves the muzzle, so that is where we are going to focus. First: Positions. In all things shooting you are always in some kind of a position. Let’s classify them between Standard & Non-Standard positions. The Standard positions being: Standing, Kneeling, Sitting, Prone. All use what is organic to the body & weapon. Things such as bipods, slings, and even tripods are to be considered. Non-Standard Positions are modifications to the Standard, using things such as barricades, barrels, stands, trees, vehicles, or anything else a shooter may find in their environment. In keeping with 100-yard training, a tripod or ladder will be extremely effective. Seeing as how most people have ladders, it’s a great place to start.
Ladders give the shooter the opportunity to train all the positions while quickly changing from one to another in a timed drill. Working things such as efficiency in movement, natural point of aim and proper trigger press. Movement is an underestimated key to success when shooting at any distance.
For example, a drill that would be excellent to run at 100 yards with a ladder could look something like: On the beep, shooter will move to ladder and fire 2 rounds standing at the first one-inch circle on the left. Then shooter will move to the bottom of the ladder in a low kneeling position and engage the next circle with 2 rounds. The final position will be a high kneeling position on the ladder engaging the last circle on the right with 2 rounds all in a time limit of 45 seconds.
THE CHECKLIST
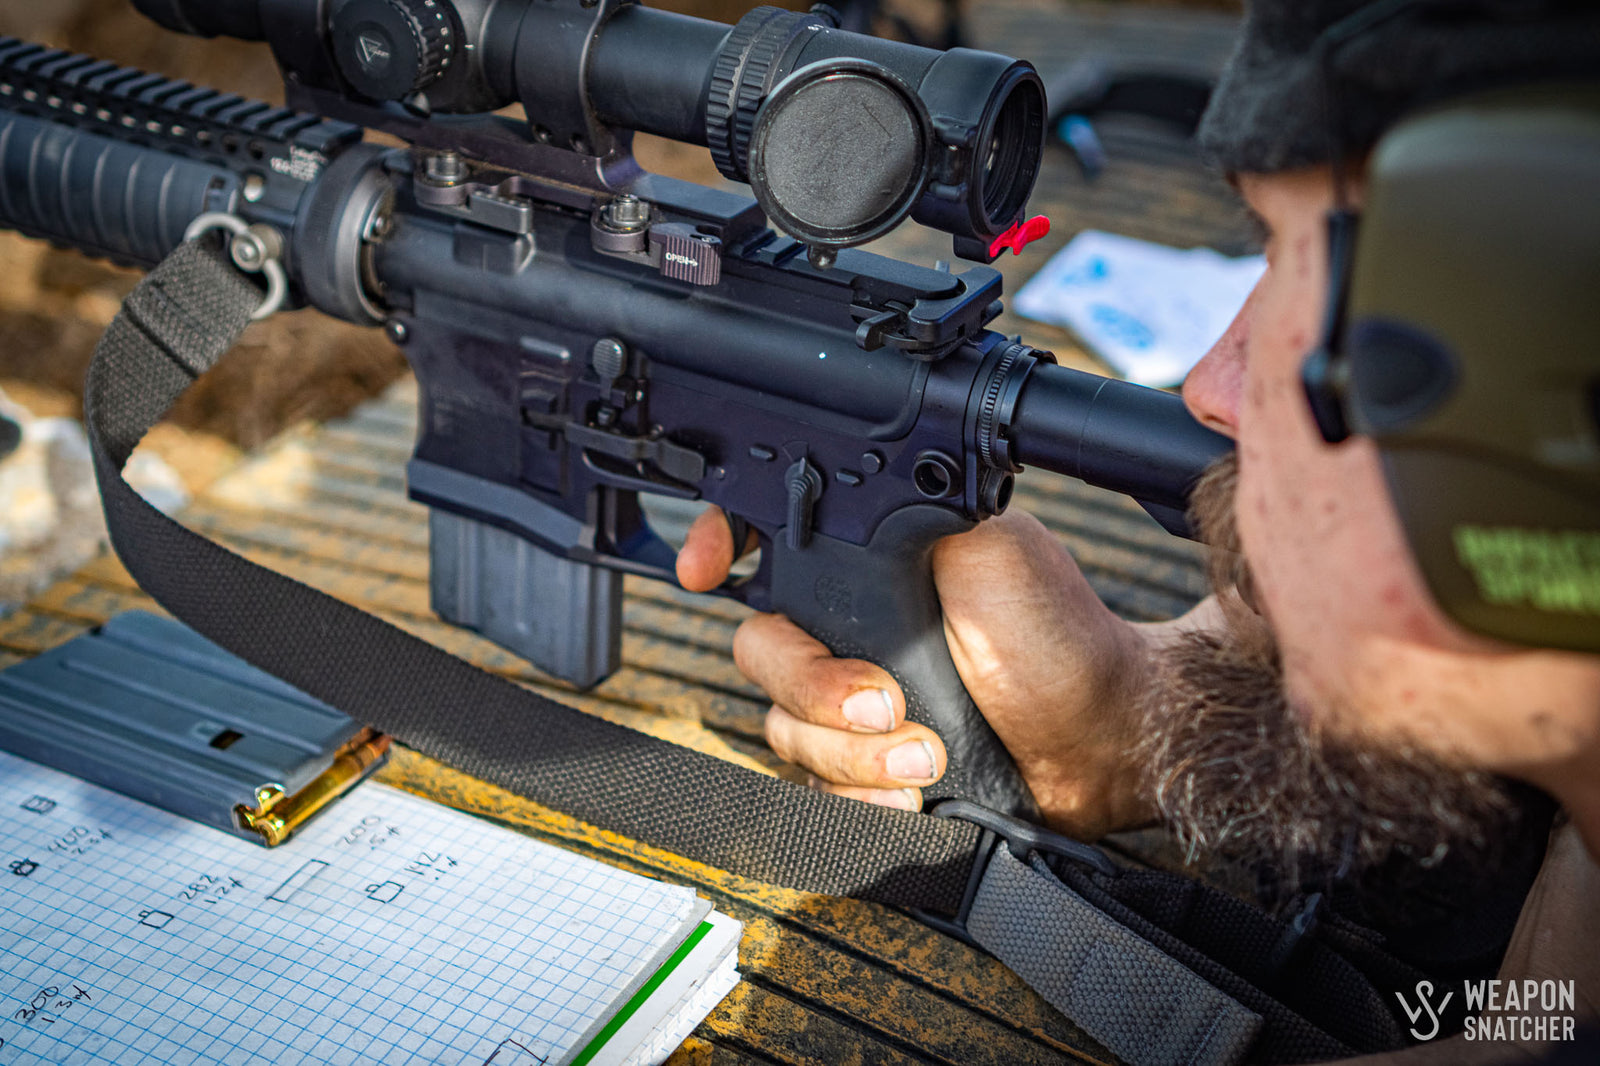
Within this drill are many differing factors that can be broken down and retrained to a higher degree. Before the drill even begins, the shooter has some rifle management tasks to complete. The order I use for this is Power, Parallax, Elevation, Windage, Cant. For short, PPEWC. I check the Power (magnification) on my optic to make sure it’s where I want it for the drill, I am running to give me the best field of view balanced with the needed magnification to both spot & correct my shots if necessary. After that, Parallax. If your optic has a parallax adjustment on it, I suggest you get extremely familiar with its use and how to hone it in quickly when needed. There are quick reference numbers on a majority of, if not all, parallax knobs, however, for refined shooting (when you have time) you will use these as suggestions to get close to what is actually parallax free. Then, Elevation. For whatever drill that is about to be shot, the shooter must set their elevation (unless it is decided to run the drill using all holds) so that it eliminates time used while on the clock, as well as for any angles they may have to shoot which will drastically affect what is dialed/held on the gun. The following item to check is Windage. This can mean not just dialing windage but checking the wind hold (as a majority of the time the shooter should hold for wind, rather than dialing it out as it changes often and fast) for the distances they will be engaging. The last item to check in PPEWC is CANT. Cant, if you don’t know, refers to the rifle being/not being perfectly level which translates to the alignment of the optic to bore so that the rounds flight path is ideally lined up, giving the shooter the highest possibility of a first-round hit. When the cant of a rifle is off, or not level, depending on which way, the round will miss to the left or right of target (this includes other factors as well.)

Following the PPEWC checklist comes the movement to the stage upon the beep of the shot timer. For example, how many steps does it take to get to the ladder? Eliminating choppy steps and ensuring a natural point of aim as the shooter walks up to the ladder can save you valuable seconds. To further aid in achieving the natural point of aim, the shooter can preposition themselves in a perfect line from the target to the ladder, to the shooter so that it’s a straight walk up, rifle down, shooter connects, and natural point of aim is directly in line without needing to muscle the rifle in any direction. All of that before even firing a shot.
Moving through positions on the clock such as standing to a low kneeling is a time-consuming movement for a few reasons. One, keeping the alignment to the target can be tricky because now you are indexing on the rifle in an exaggerated and uncomfortable position. Two, maintaining balance and stability within your body, to the gun and on a possibly rickety ladder can be difficult. Finally, maintaining recoil management for consecutive follow up shots at speed can be tough when the rifle is now moving in a different position with the body, making it harder to recover the sight picture back on target quickly.
The final position being a high kneeling offers different factors to train. Kneeling is often times one of the harder positions for people to fire from because of the tendency to wobble back and forth, even with the rifle rested on the forend. Working the bodies alignment behind the gun to attain the natural point of aim yet again while seeking to use the strong hand elbow on the strong hand knee for support is a crucial factor (unless the shooter is training with bags or other such resting accessories) to gain stability in the kneeling. The support hand has a critical role as well, keeping the rifle in place on the ladder, pressed down and back to aid in stability and recoil management to aid the shooter in fast follow up shots. The higher up the position is, i.e., sitting to kneeling, kneeling to standing, traditionally the less stable the position becomes. Therefore, it becomes important to gain as many points of contact on the rifle and environment as possible for the most stability. For a ladder, the shooter not only has the step to rest the rifle on, but the frame as well to consider. Sliding the rifle over to the frame to pin it to the side is another way to gain even more stability because you are adding more contact to the gun. TIME.
There’s a lot a single drill inside 100 yards can offer when the shooter takes the time to address each task with deliberate focus. All this seems relatively simple, easy to think of and do, yet often times Shooters feel that they aren’t doing anything “long range” related inside 100 yards. Understandably, the validation of hitting steel at distance drives it home. However, the shooter who works what they can as often as they can, even with such limitations will be, in my opinion, always better than the one who makes the excuse, “I only have 100 yards to shoot near me.”

My suggestion to Shooters looking to train inside the restrictions they may have at their local range or “secret shooting spot” is to get endlessly creative. If you have an idea or see something online, write it down and make it a plan to go out and do. Training with a plan always pays off more, especially when dealing with limitations. That way, when it’s time to reach out and touch steel at distance, you are ready to go. The factors left over to consider are obviously things such as wind, external ballistics, and terrain which, coincidentally, gives you skills to train when you have the opportunity to “stretch your legs” a bit. One last tip to offer as well is DRY FIRE. There’s a lot that dry fire can do for a Shooter. While it cannot help everything, it can make up for around 80% of what you can do in live fire. The only way any of this becomes effective for Shooters is if you remember to Get Out & BANG!
Written by: John “Weapon Snatcher” Carughi
Dejar un comentario